We are happy to announce Chaport’s new features:
Pre-chat Form
Request name, email, phone and any other visitor information before starting a chat.
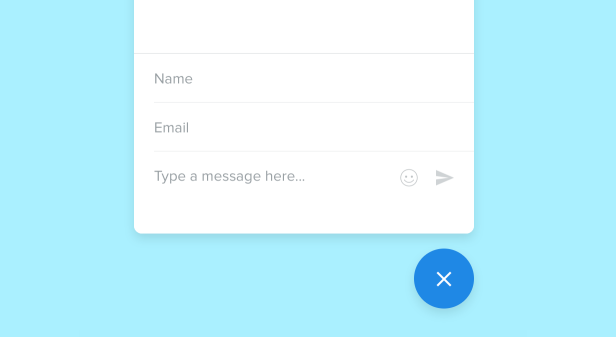
The pre-chat form will be especially useful when all your operators are offline. It will help you collect your customers’ contact details and ensure they read your responses, as when a customer leaves their email address, an operator’s response is sent to it automatically. Also, it will allow you to generate more leads and grow your email list.
You can also show the pre-chat form when all operators are online. It will save the time your operators would have spent collecting the necessary information manually. However, it can significantly decrease the number of incoming chats, so we recommend showing the pre-chat form only when your operators are offline.
To enable the pre-chat form, go to Settings→ Pre-chat Form.
You can configure the pre-chat form according to your needs — add or remove some fields, reorder them, and make them required or optional.
You can find a more detailed instruction in our Knowledge Base: Pre-chat form.
Tip: Keep your pre-chat form short to get the maximum number of leads.
Please note: You can also use the in-chat email request to automatically ask for a visitor email address after starting a chat.
Custom Fields
Create your own fields — Сompany Name, Order Number, etc. Add these fields to the pre-chat form, edit them manually or pass them using the Javascript API.

Custom fields are additional visitor info fields created by you. The following input types are available:
- Single-line text
- Choice
- Checkbox
You can use custom fields to qualify your leads or store additional information. The checkbox fields can also be used to collect customer consent to certain actions.
To add a custom field, go to Settings→ Visitor Info and click on “+” in the upper left corner.
You can find a more detailed instruction in our Knowledge Base: Custom fields.
Visitor Info Panel Customization
Add new fields, hide or reorder fields in the visitor info panel.
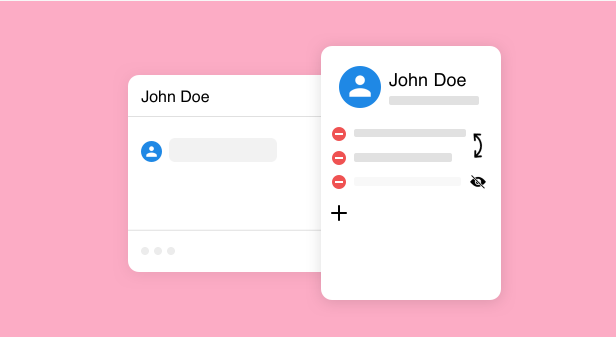
This feature can be useful, for example, if you want to hide the IP-address field from your operators. Besides, you can move the most frequently used fields to the top so that they are always in sight.
To adjust the fields visibility, go to Settings→ Visitor Info.
You can find a more detailed instruction in our Knowledge Base: Visitor info fields.
Chaport for iPad
Install Chaport on your iPad and enjoy your work even more.
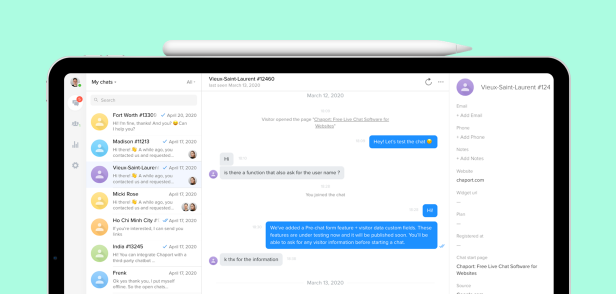
We have also added many other useful features: new triggers for auto-invitations, new methods in REST & Javascript API (sending custom auto-invitations, hiding the chat widget from specific countries), and much more.
Besides, we have conducted a significant refactoring of our app and laid the foundation for creating chatbots, which we are already working on.
Please note that all the updates are available on the PRO plan. If you’re using the Free version and want to try our new features — contact us, and we’ll activate an additional 14-day Pro plan trial for you.
We hope that all the new features will be useful to you! 😊

